 Astha Sharma on 2021-02-11
Ah, there’s nothing as satisfying as finishing all your code for a website you’re making. But then comes the hard part — deploying it. Don’t worry, we got you covered with this guide.
We will go through deploying without a custom domain, with a HTTP custom domain, and a secured HTTPS domain custom.

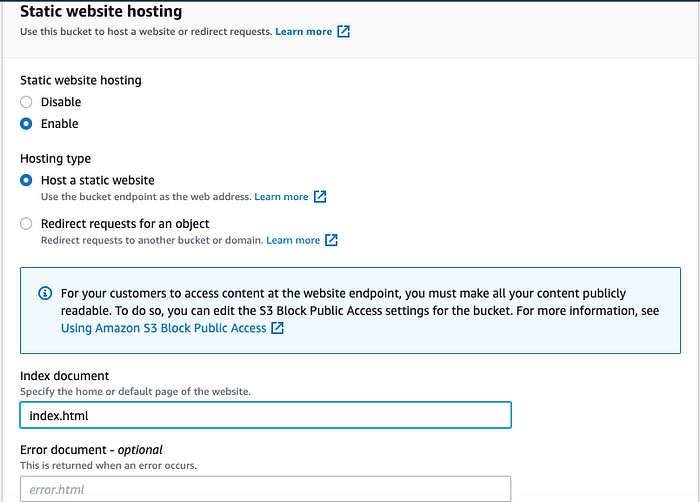
If you have a file for errors, specify it in Error document. If not hit save changes.
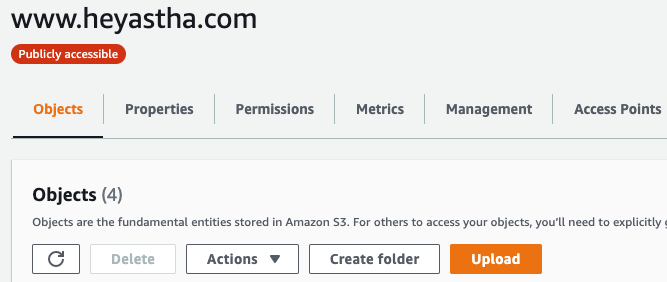
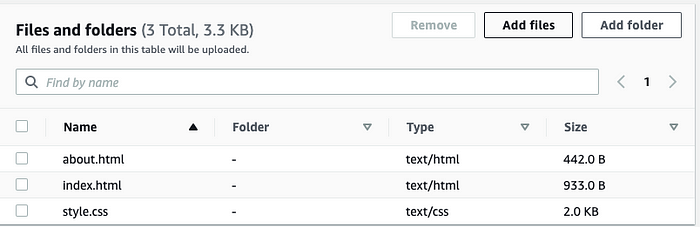
Click on Add files to add your code
Scroll down to Upload

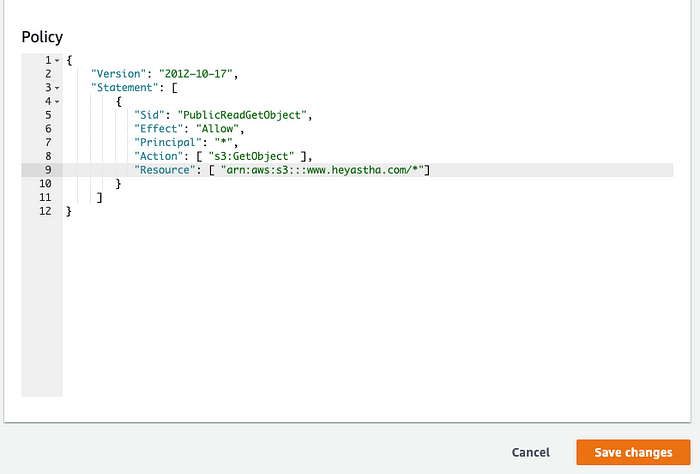
{
    “Version”: “2012–10–17”,
    “Statement”: [
        {
           “Sid”: “PublicReadGetObject”,
           “Effect”: “Allow”,
           “Principal”: “*”,
           “Action”: [ “s3:GetObject” ],
           “Resource”: [ “arn:aws:s3:::example.com/*"]
        }
     ]
}
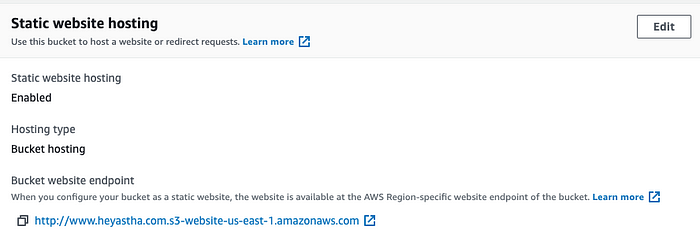
Open the URL to make sure your website is working and displaying!
If all you wanted was to share your website then you’re done!
But if you have a custom domain, stay tuned and keep your website URL handy.
We will need it a few more times later on.
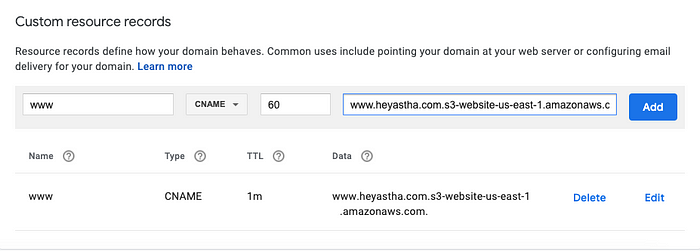
Important Note: make sure to remove the http:/ when pasting the URL from AWS.
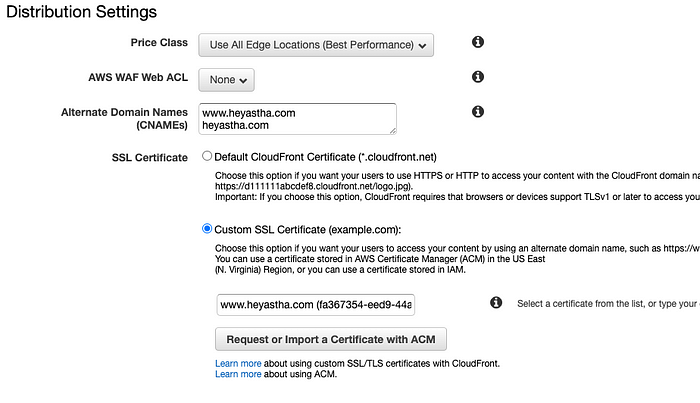
If you’ve noticed, this is a http:// site meaning it is not secure. If you want to have an HTTPS site and see the lock on the URL there will be a few extra steps.
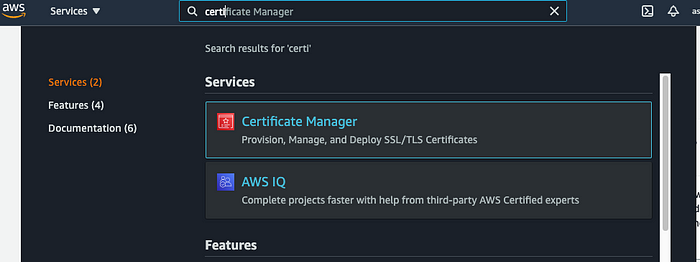
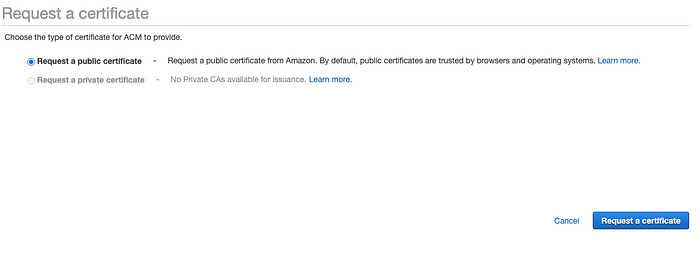
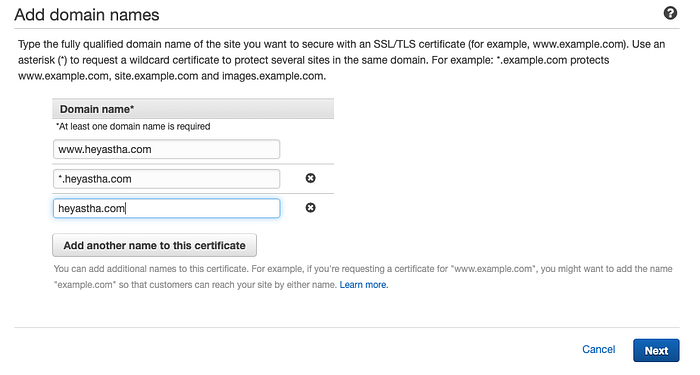
To do this we need to get a certificate from AWS.
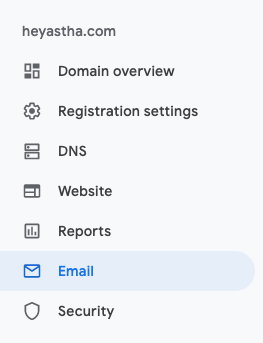
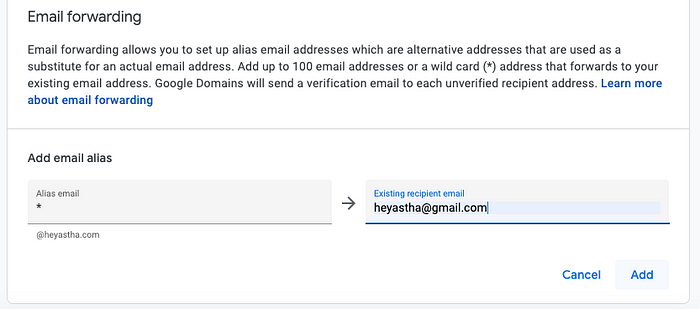
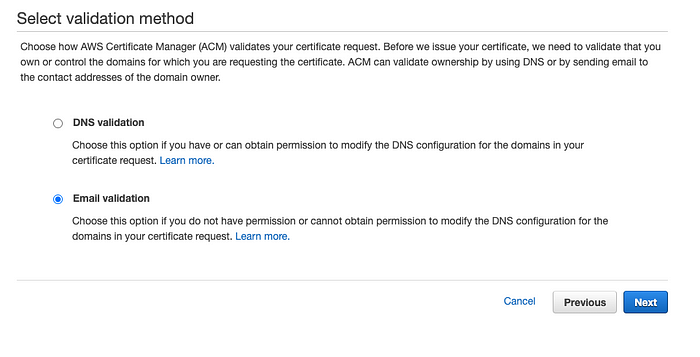
Putting a * in the Alias email will make it so any emails from your website (info@yoururl.com, admin@yoururl.com, water@yoururl.com etc) will get forwarded.
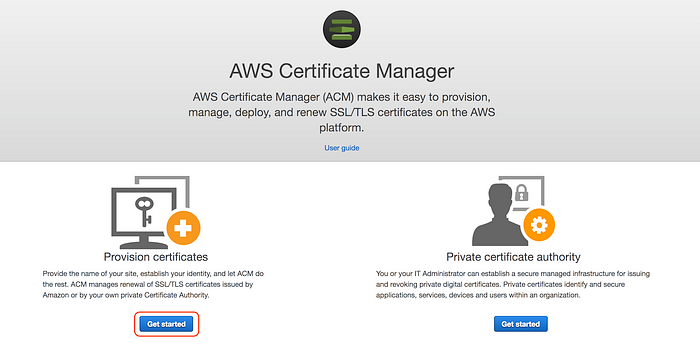
If this is your first time using this, you will need to get a Provision certificate
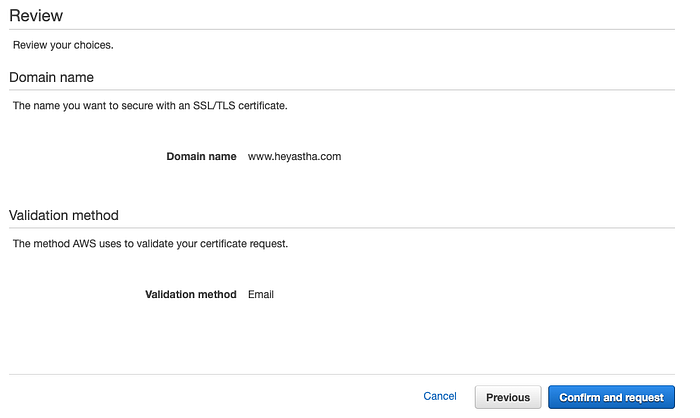


Very Important: Make sure you don’t use the ones from the dropdown menu! Paste the link we got way before, mine was (http://www.heyastha.com.s3-website-us-east-1.amazonaws.com/)

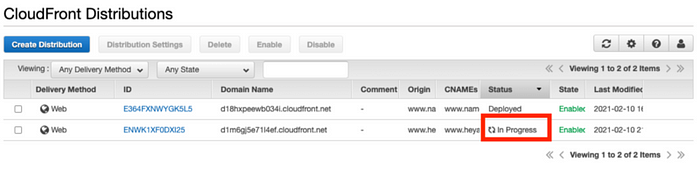
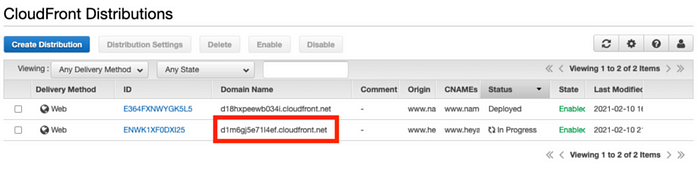


It may take a few minutes to show up but if you followed these steps correctly, you will be seeing a secured lock on the browser.
If you have any questions or run into any errors, feel free to reach out to us at info@lovespreadsheets.com!
Good luck with your websites!