 Astha Sharma on 2021-06-08
Planning the music for an event or party can be stressful. Especially if you're the DJ & everyone attending wants their song to be played.
This is part two of a three part series about how to build a custom web app with spreadsheets.
For this part, we will go through how to make a login for the DJ & they can delete & update songs as they wish. Ideally you can use this for any project you would like!
We have a YouTube tutorial to follow along if you are a visual learner.
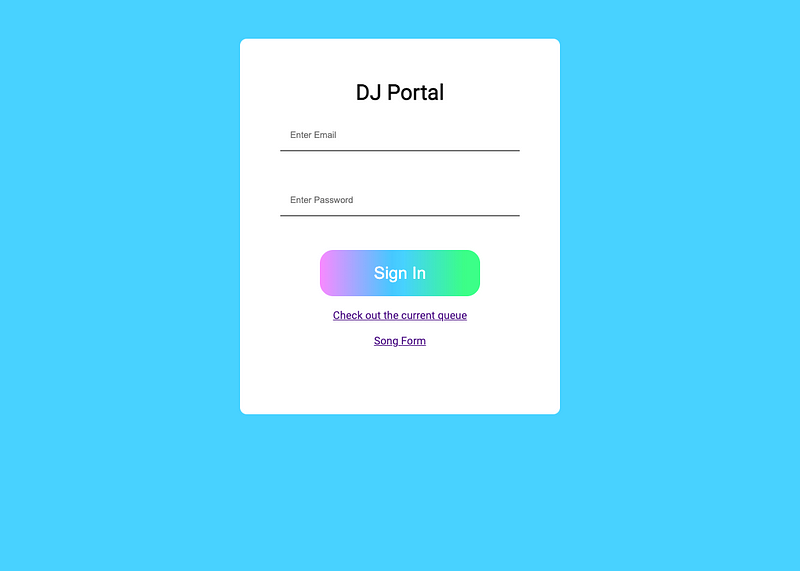
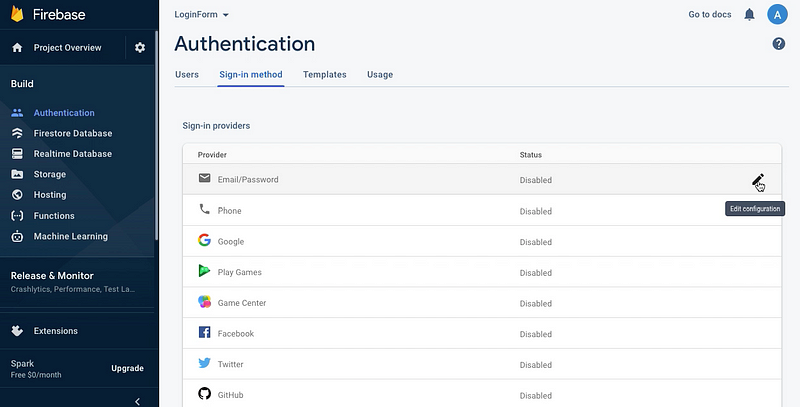
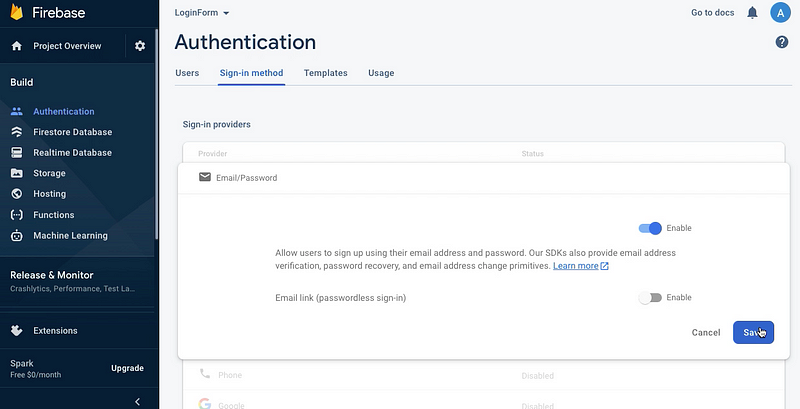
In Part 1 we learned how to create an HTML form. We will be following similar to steps to create the login form.
The DJ can input their email and password to sign in.
Here is the recap of the code for creating the form itself. If you want more details, make sure to refer to Part 1 here!
<body>
  <div id="form">
  <h1> DJ Portal </h1>
		<div id="header"> </div>

		<input type="email" placeholder="Enter Email" id="email"/>
    	<input type="password" placeholder="Enter Password" id="password"/>

		<button onclick="signIn()" id="signIn"> Sign In </button>
                    <br/><br/>

		<a href="display.html"> Check out the current queue </a> <br/><br/>
    	<a href="form.html"> Song Form  </a>
</body>
We will be using the input type id="email" and id="password" and the button onclick function signIn() in our JavaScript code soon.
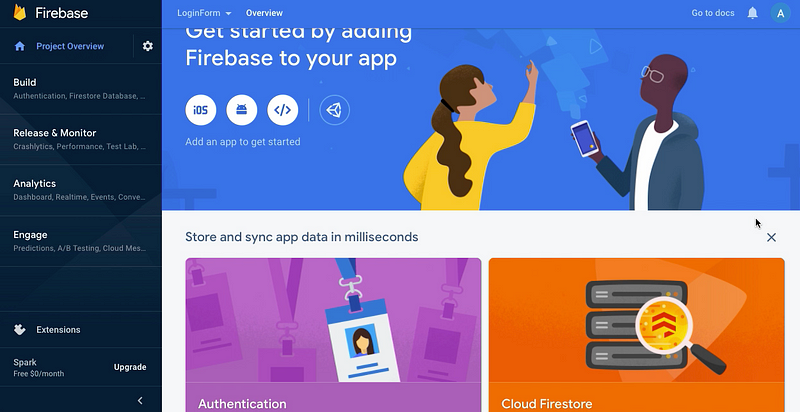
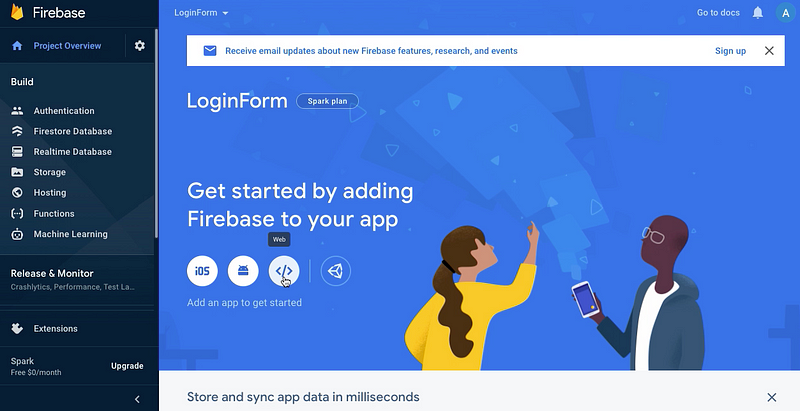
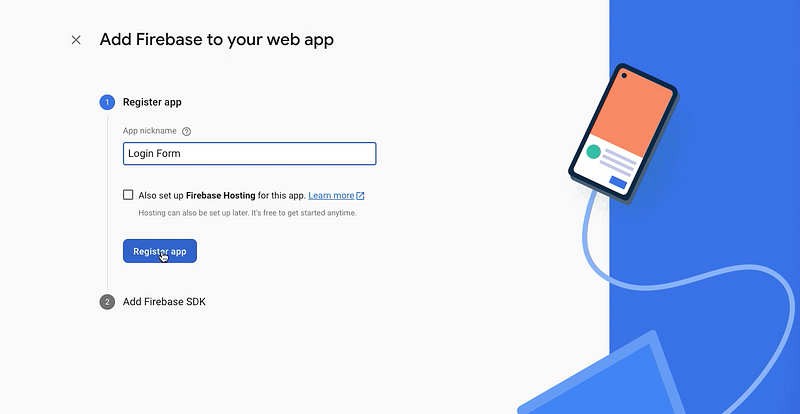
Firebase is where we will be storing data so we can actually use the login feature on this form.


In our <script> tag, we will be doing this
<script src="https://www.gstatic.com/firebasejs/8.6.3/firebase-app.js"></script>
<script src="https://www.gstatic.com/firebasejs/8.6.3/firebase-auth.js"></script>
<script src="loginForm.js"></script>
The first two links are from the Firebase SDK we got previously. One is for the app and the other is for authentication.
loginForm is a separate file where we will be writing our JavaScript code. However, you can also write your code in a script tag in the same file.
Let's break down the JavaScript code.
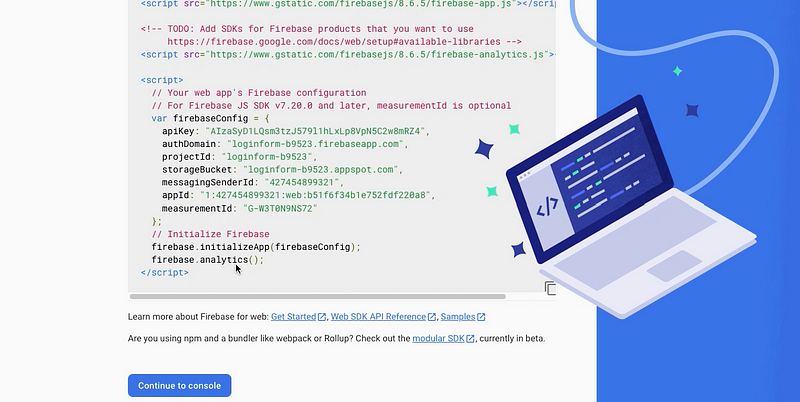
  // Your web app's Firebase configuration
  var firebaseConfig = {
    apiKey: "AIzaSyBAGCR7VhRhpCTbln069BS4WTFf0UQcbyk",
    authDomain: "loginpage-dc3a1.firebaseapp.com",
    projectId: "loginpage-dc3a1",
    storageBucket: "loginpage-dc3a1.appspot.com",
    messagingSenderId: "368995587873",
    appId: "1:368995587873:web:9997247edef5f1b74f9060"
  };
  // Initialize Firebase
  firebase.initializeApp(firebaseConfig);

const auth = firebase.auth();
This is the code we got from Firebase earlier, the variable firebaseConfig is the Firebase SDK to be able to access the account.
const auth is to declare the firebase.auth() function to have authentication for our login.
function signIn(){
  var email = document.getElementById("email");
  var password = document.getElementById("password");

  const promise = auth.signInWithEmailAndPassword(email.value, password.value);
  promise.then(() => location.replace("./djQueue.html")).catch(e => alert(e.message));
};
This function is for the signing in. We are setting the variables "email" and "password" to document.getElementById and getting the Id's we specified earlier in the body.
Then we are going to write a promise object. Promises are usually used for asynchronous operations that require something to be called. You can read more about them here.
  const promise = auth.signInWithEmailAndPassword(email.value, password.value);
  promise.then(() => location.replace("./djQueue.html")).catch(e => alert(e.message));
In this code we are saying that the promise authenticates an user to sign in with their email and password (what we made in Firebase) using the email and password value.
If it's successful, the user will go to the DJ Queue (through location.replace("./djQueue.html") and there will be an alert message indicating that we signed out.
  function signOut(){
      auth.signOut();
      location.replace("./login.html");
      alert("Signed Out")
}
This function is for our sign out button once we login. After signing out we will be brought to the login page again.
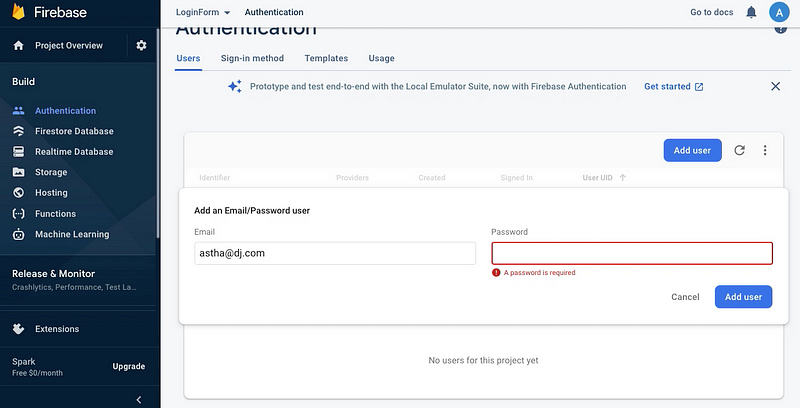
Login using the email and password you set in Firebase.
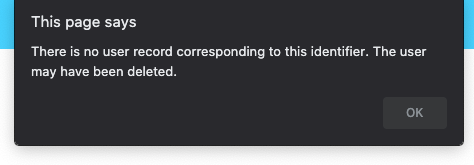
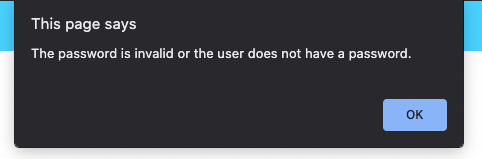
If there is an error or if you incorrectly input your username, this will show up through Firebase's authentication.
If it's successful the page you redirected it to will appear. In this case that would be the DJ's Portal.
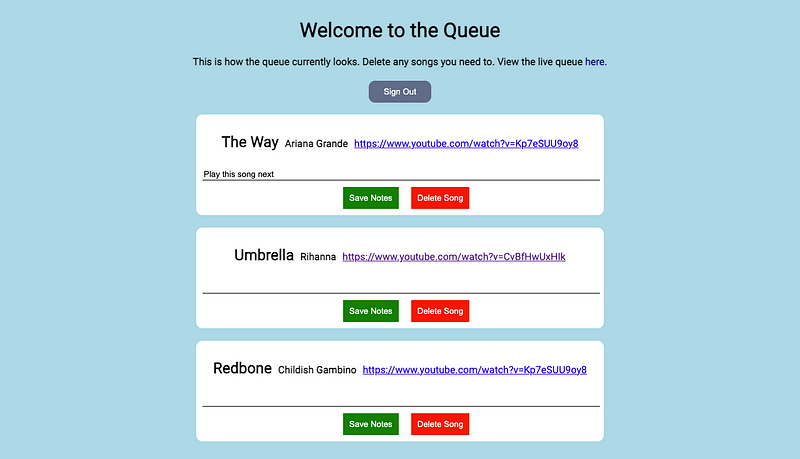
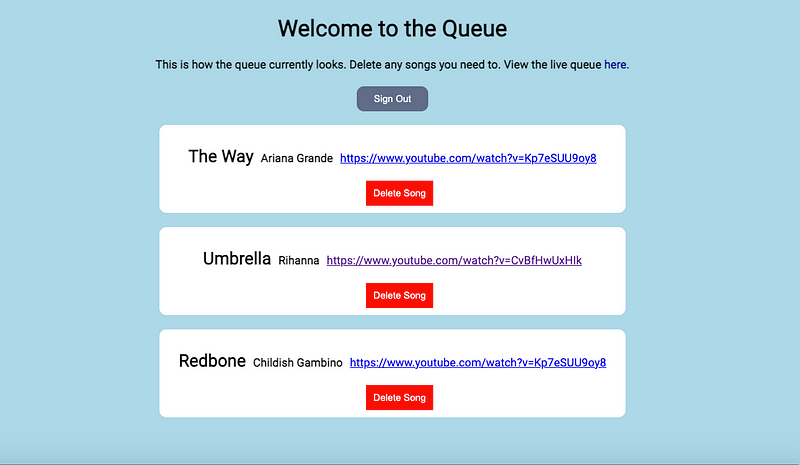
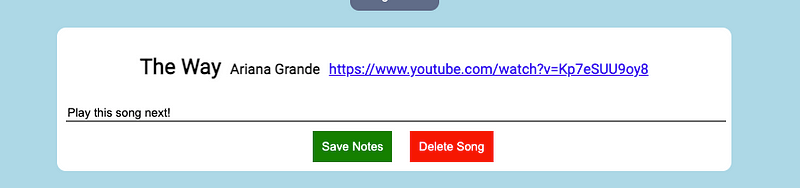
When we login successfully, we see this DJ Queue. Similar to what we made in Part 1. However, here we add a sign out button & the option to delete or update notes to the song.

We are going to start off with how to delete songs. We are using the display.html code we made in Part 1!
However, make sure to add the same script tags we put in login.html to access the firebase and signOut function.
<script src="https://www.gstatic.com/firebasejs/8.6.3/firebase-app.js"></script>
<script src="https://www.gstatic.com/firebasejs/8.6.3/firebase-auth.js"></script>
<script src="loginForm.js"></script>
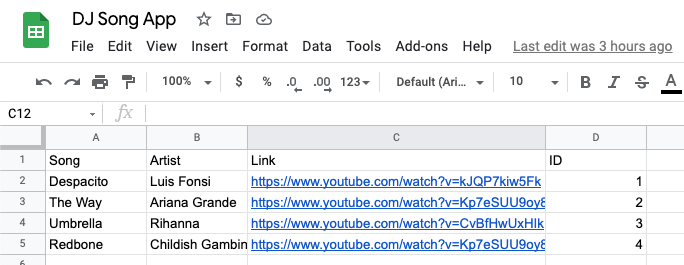
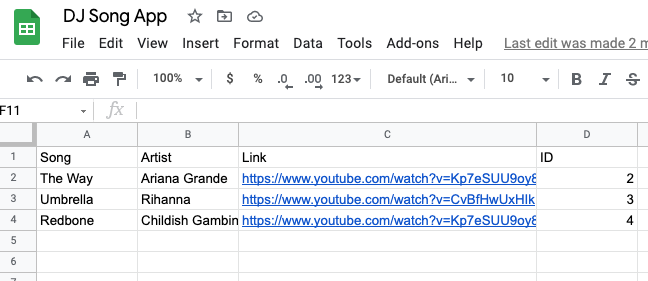
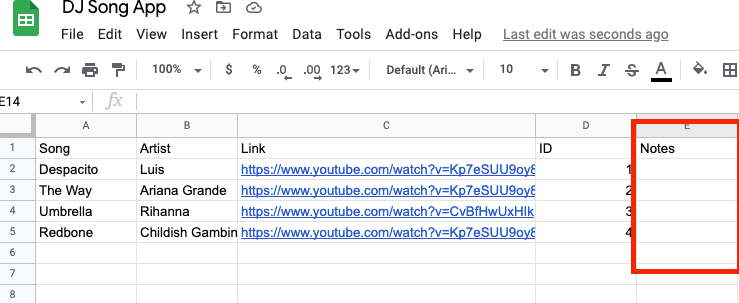
Go back to that Google Sheet we made before and add a column "ID" and number it with however many inputs you have. You can also add an ID input in your Form from Part 1.
In our script tag, we are going to add rowDeleteButton
let rowDeleteButton = document.createElement("button")
rowDeleteButton.setAttribute("onclick", "deleteRow(" + (rowInfo['ID']).toString() + ")")
let rowDeleteButtonNode = document.createTextNode("Delete Song")
rowDeleteButton.appendChild(rowDeleteButtonNode)
rowDeleteButton.classList.add("deleteButton")
Let’s create the element for DeleteButton We will make this an <button> and call it rowDeleteButton
let rowDeleteButton = document.createElement("button")
Then we are going to setAttribute "onclick", "deleteRow" and add that to (rowInfo['ID']).toString() which turns the integers in your "ID" column into strings.
rowDeleteButton.setAttribute("onclick", "deleteRow(" + (rowInfo['ID']).toString() + ")")
After that we will create a text node that will display the text Delete Song from our rowInfo object. We will call this rowDeleteButtonNode.
let rowDeleteButtonNode = document.createTextNode("Delete Song")
We add this text node to our button element and give it a class called “deleteButton” so we can style it later.
rowDeleteButton.appendChild(rowDeleteButtonNode)
rowDeleteButton.classList.add("deleteButton")
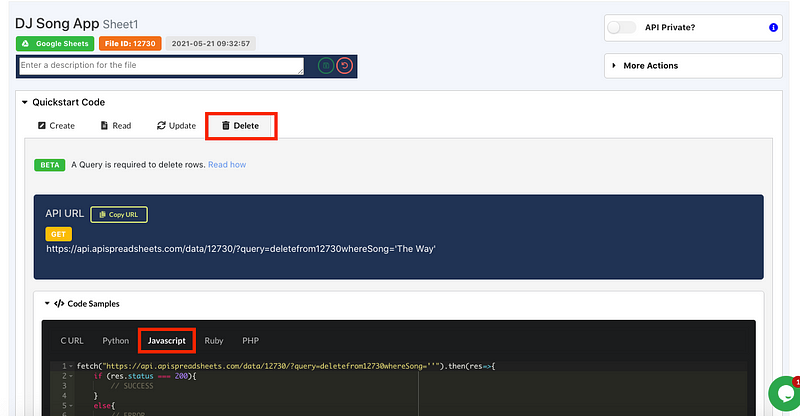
Click on Delete and copy the Javascript fetch code. We are going to use that soon.
In the script tag we are going to create a function to delete rows.
<script>
function deleteRow(rowID) {
fetch("https://api.apispreadsheets.com/data/12730/?query=deletefrom12730whereID="+ rowID.toString()).then(res=>{
if (res.status === 200){
// SUCCESS
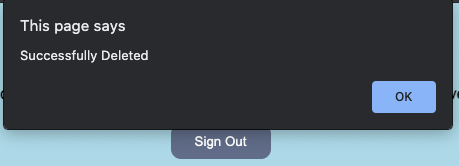
alert("Successfully Deleted")
location.reload();
}
else{
// ERROR
alert("Error Deleting!")
}
}).catch(err => {
alert("Error Deleting!")
})
}
</script>
We start off with function deleteRow(rowID) with rowID being our parameter.
For the fetch code, we copy what we got from API Spreadsheets and add whereID to specify the row "ID" in our spreadsheet and add rowID.toString()
toString() is a method that returns the value in a string.
Lastly, if the function is successful we do location.reload() which will automatically reload our page after a successful delete.
The catch will display "Error Deleting!"
This is what we did for the delete button styling.
.deleteButton{
    background-color: red;
	color: white;
	border:none;
	padding:10px;
	margin-left:20px;
	text-align: center;
}
Lastly, make sure to add this to rowInfoDiv by doing rowInfoDiv.appendChild(rowDeleteButton)
rowInfoDiv.appendChild(rowSong)
rowInfoDiv.appendChild(rowArtist)
rowInfoDiv.appendChild(rowLink)
rowInfoDiv.appendChild(rowDeleteButton)
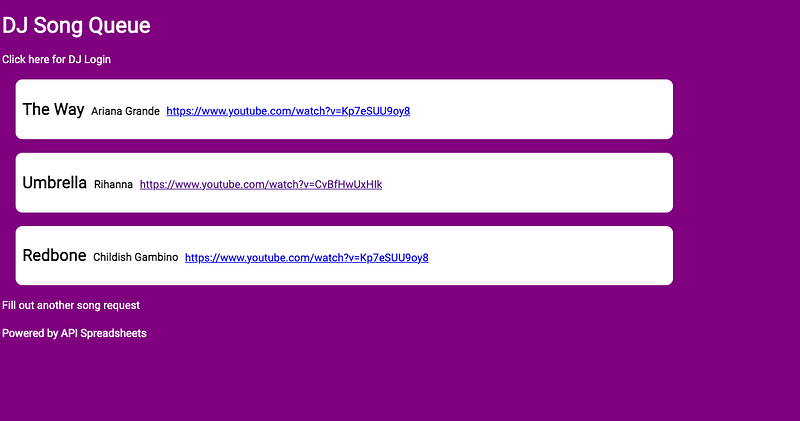
When you press delete, that row will be removed from the DJ's Queue, main Queue, and your spreadsheet!
We are adding a notes option so the DJ can make notes for themself.
This will not show up on the display for everyone else to see. It's just notes for the DJ!
Go back to the Google Sheet and add a column called "Notes"
let rowNotesField = document.createElement("input")
rowNotesField.setAttribute("type", "text")
rowNotesField.setAttribute("id", "rowNotesField" + rowInfo['ID'].toString())
rowNotesField.setAttribute("value", rowInfo['Notes'])
rowNotesField.classList.add("rowNotesField")
Let’s create the element for rowNotesField. We will make this an <input> and call it rowDeleteButton
let rowNotesField = document.createElement("input")
We are going to setAttribute a few times. First for "type" being "text" to have an area for the text.
rowNotesField.setAttribute("type", "text")
Next we will setAttribute to "id", "rowNotesField" + rowInfo['ID'].toString(). This is so our input notes will match the ID in our spreadsheet.
rowNotesField.setAttribute("id", "rowNotesField" + rowInfo['ID'].toString())
Lastly we setAttribute "value" to rowInfo['Notes'], the column name we made in our Google Sheet earlier.
rowNotesField.setAttribute("value", rowInfo['Notes'])
Then we add it to the class "rowNotesField"
rowNotesField.classList.add("rowNotesField")
 let rowNotesSaveBtn = document.createElement("button")
 rowNotesSaveBtn.setAttribute("onclick", "updateSongNotes(" + rowInfo['ID'].toString() + ')')
 let rowNotesSaveBtnNode = document.createTextNode("Save Notes")
 rowNotesSaveBtn.appendChild(rowNotesSaveBtnNode)
 rowNotesSaveBtn.setAttribute("id", "rowNotesSaveBtn" + rowInfo['ID'].toString())
 rowNotesSaveBtn.classList.add("rowNotesSaveBtn")
Let’s create the element for the Update button. We will make this an <button> and call it rowNotesSaveBtn
let rowNotesSaveBtn = document.createElement("button")
Then we are going to setAttribute "onclick", "updateSongNotes" and add that to (rowInfo['ID']).toString() which turns the integers in your "ID" column into strings.
rowDeleteButton.setAttribute("onclick", "deleteRow(" + (rowInfo['ID']).toString() + ")")
After that we will create a text node that will display the text Save Notes from our rowInfo object. We will call this rowNotesSaveBtnNode.
let rowNotesSaveBtnNode = document.createTextNode("Save Notes")
We add this text node to our button element and give it a class called “rowNotesSaveBtn” so we can style it later.
 rowNotesSaveBtn.appendChild(rowNotesSaveBtnNode)
 rowNotesSaveBtn.setAttribute("id", "rowNotesSaveBtn" + rowInfo['ID'].toString())
rowDeleteButton.classList.add("rowNotesSaveBtn")
We also setAttribute id to rowNotesSaveBtn + rowInfo['ID'] to the the id equal to our "ID" column in our Google Sheet.
Don't forget to add these to our divs that contain everything from here and Part 1.
rowInfoDiv.appendChild(rowNotesField)
rowInfoDiv.appendChild(rowNotesSaveBtn)
rowInfoDiv.appendChild(rowDeleteButton)

allSongsElm.appendChild(rowInfoDiv)
function updateSongNotes(rowID){
    const currValueOfNotes = document.getElementById("rowNotesField" + rowID.toString()).value

    fetch("https://api.apispreadsheets.com/data/12730/", {
        method: "POST",
        body: JSON.stringify({"data": {"Notes": currValueOfNotes}, "query": "select*from12730whereID=" + rowID.toString()}),
    }).then(res =>{
        if (res.status === 201){
            // SUCCESS
            alert("Notes Updated")
        }
        else{
            // ERROR
            alert("Notes Not Updated")
        }
    })
}
For our function we are going to get the parameter rowID and then create a const currValueOfNotes equaling to document.getElementById("rowNotesField") that we created earlier and adding that to rowID.toString().value
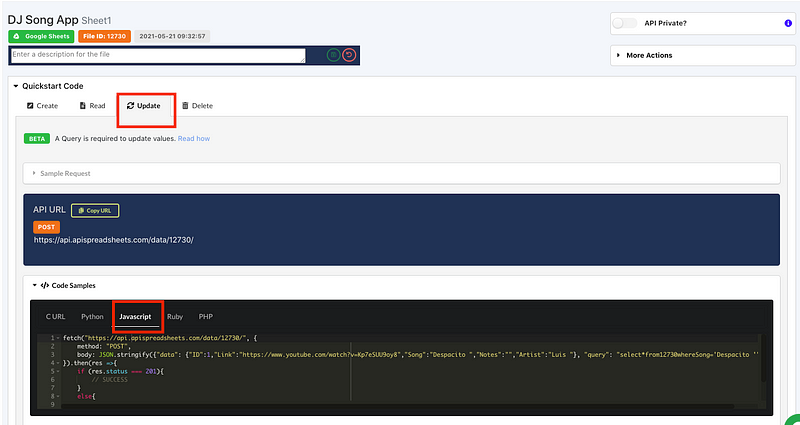
Click on Updates and then Javascript to copy the fetch code.
fetch("https://api.apispreadsheets.com/data/12730/", {
method: "POST",
body: JSON.stringify({"data": {"Notes": currValueOfNotes}, "query": "select*from12730whereID=" + rowID.toString()})
In the body we have JSON.stringify({"data": {"Notes":currValueOfNotes}, which takes the current value in our id "Notes". Then the query function which is going to be selecting the ID in our spreadsheet and adding to to rowID.toString()
}).then(res =>{
if (res.status === 201){
    // SUCCESS
    alert("Notes Updated")
}
else{
    // ERROR
    alert("Notes Not Updated")
}
})
If the function is successful we will get the alert of "Notes Updated" and if there is an error it will say "Notes Not Updated"
We are entering a note for Despacito.
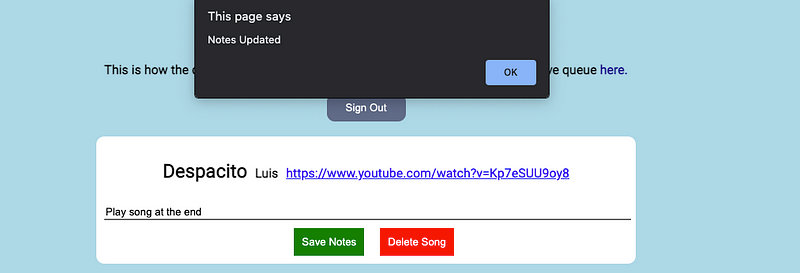
We get the alert that the note successfully updated and we can see it appear in our Google Sheet as well.

In Part 3 we will be showing you how to deploy this app using AWS. Read that here!
If you have any questions or concerns, feel free to email us at info@lovespreadsheets.com
Also, check out our video for this tutorial in case that helps you better!